I have been seeing a lot of foil being used lately so I thought it was time to finally use the Minc my husband so lovingly bought for me for Christmas. I have been wanting to try the Deco Foil Transfer Gel from Gina K Designs. She has a great YouTube video using it. Everywhere I looked was out of it. I decided to try an experiment with what I had at home. 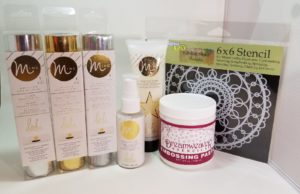
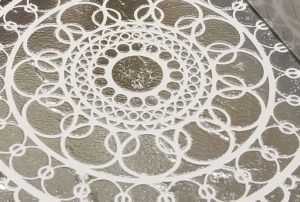
I mixed the embossing paste with the Minc Reactive Paint on my craft mat. Using watercolor paper I taped down my stencil and spackled the mixed paste over my stencil. I set it aside and let it dry overnight.
I used the silver foil and ran it through the Minc. It came out pretty good. My paste wasn’t as smooth as I would have liked but not bad for an experiment. I then decided to try the reactive paint as it was intended. I painted it onto another piece of watercolor paper. I also let it dry over night and used gold foil on it. It was a nice effect.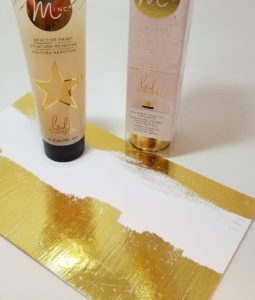
Lastly I tried the Reactive Mist. That was fun. I did the same as before putting it on watercolor paper and allowing it to dry over night. I used the holographic foil on it. That too had a nice effect.
This has inspired me to clean out my craft room to see what other treasures I have forgotten about. I’ll let you know what I find.


 I pulled out some kraft card stock, the
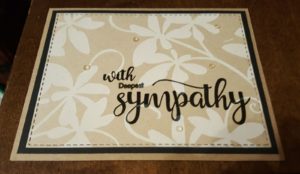
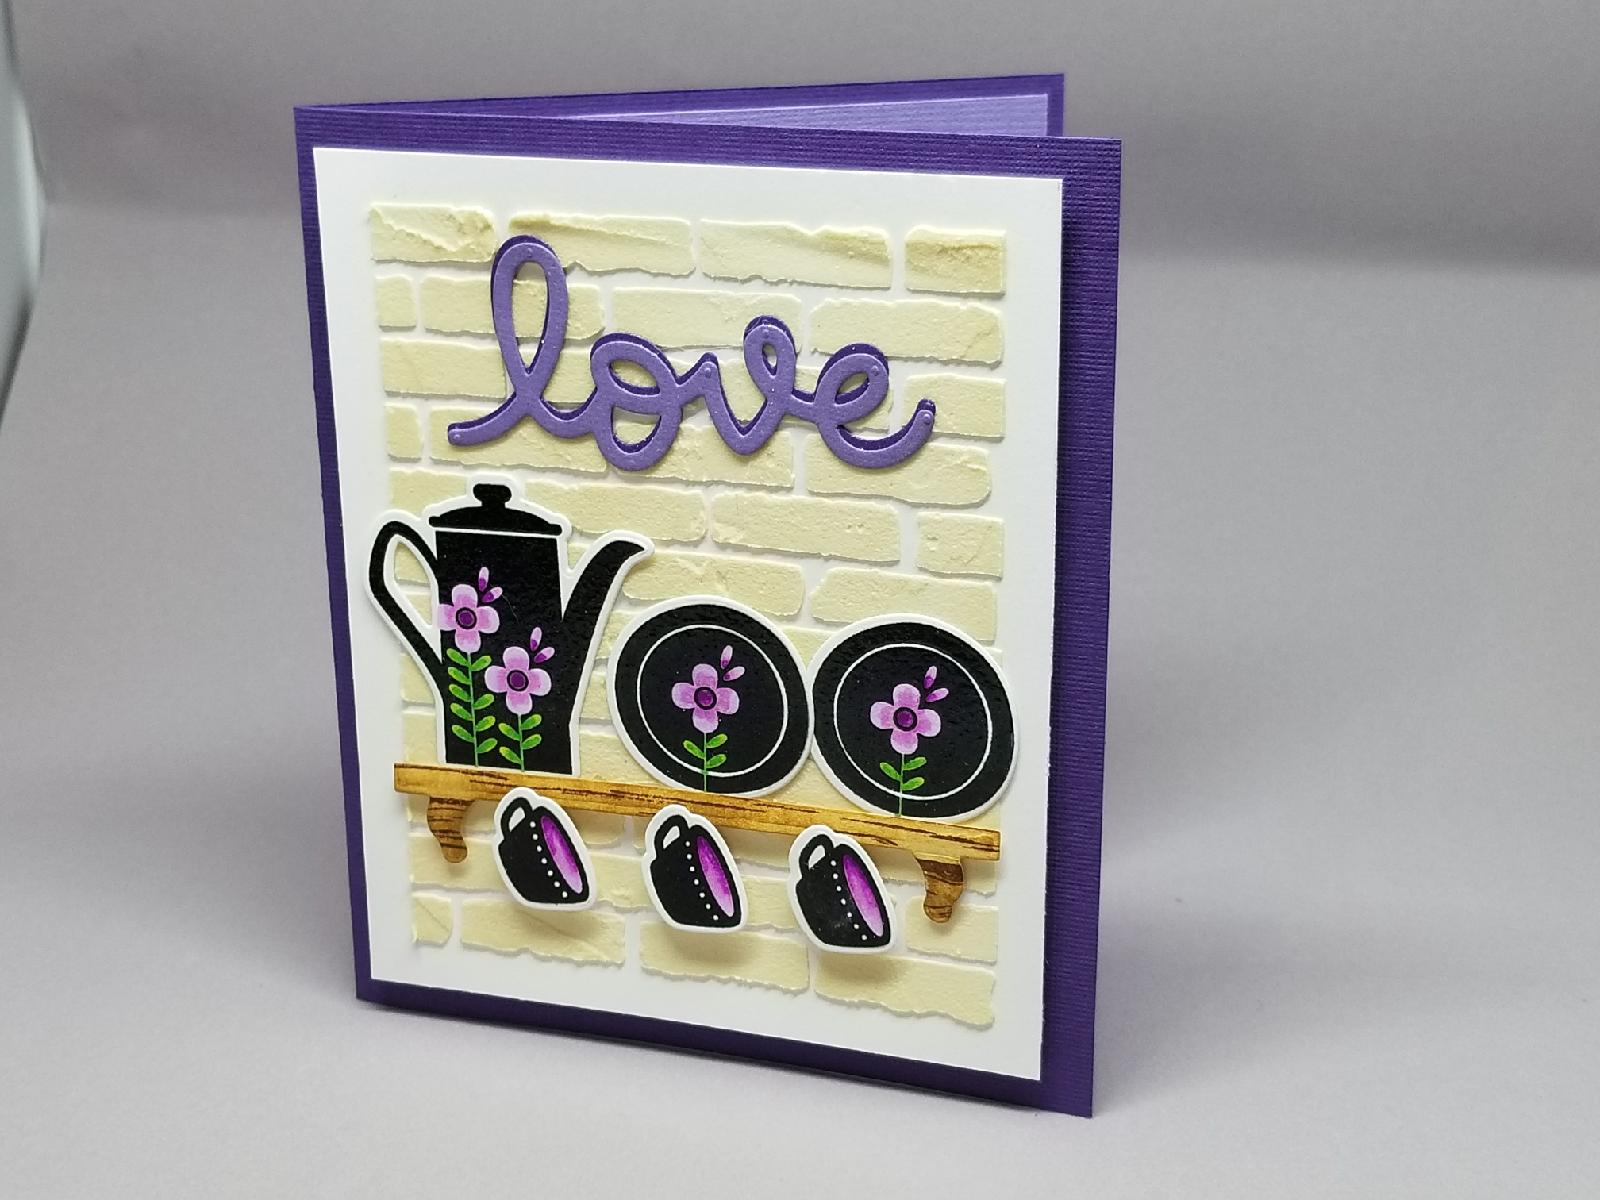
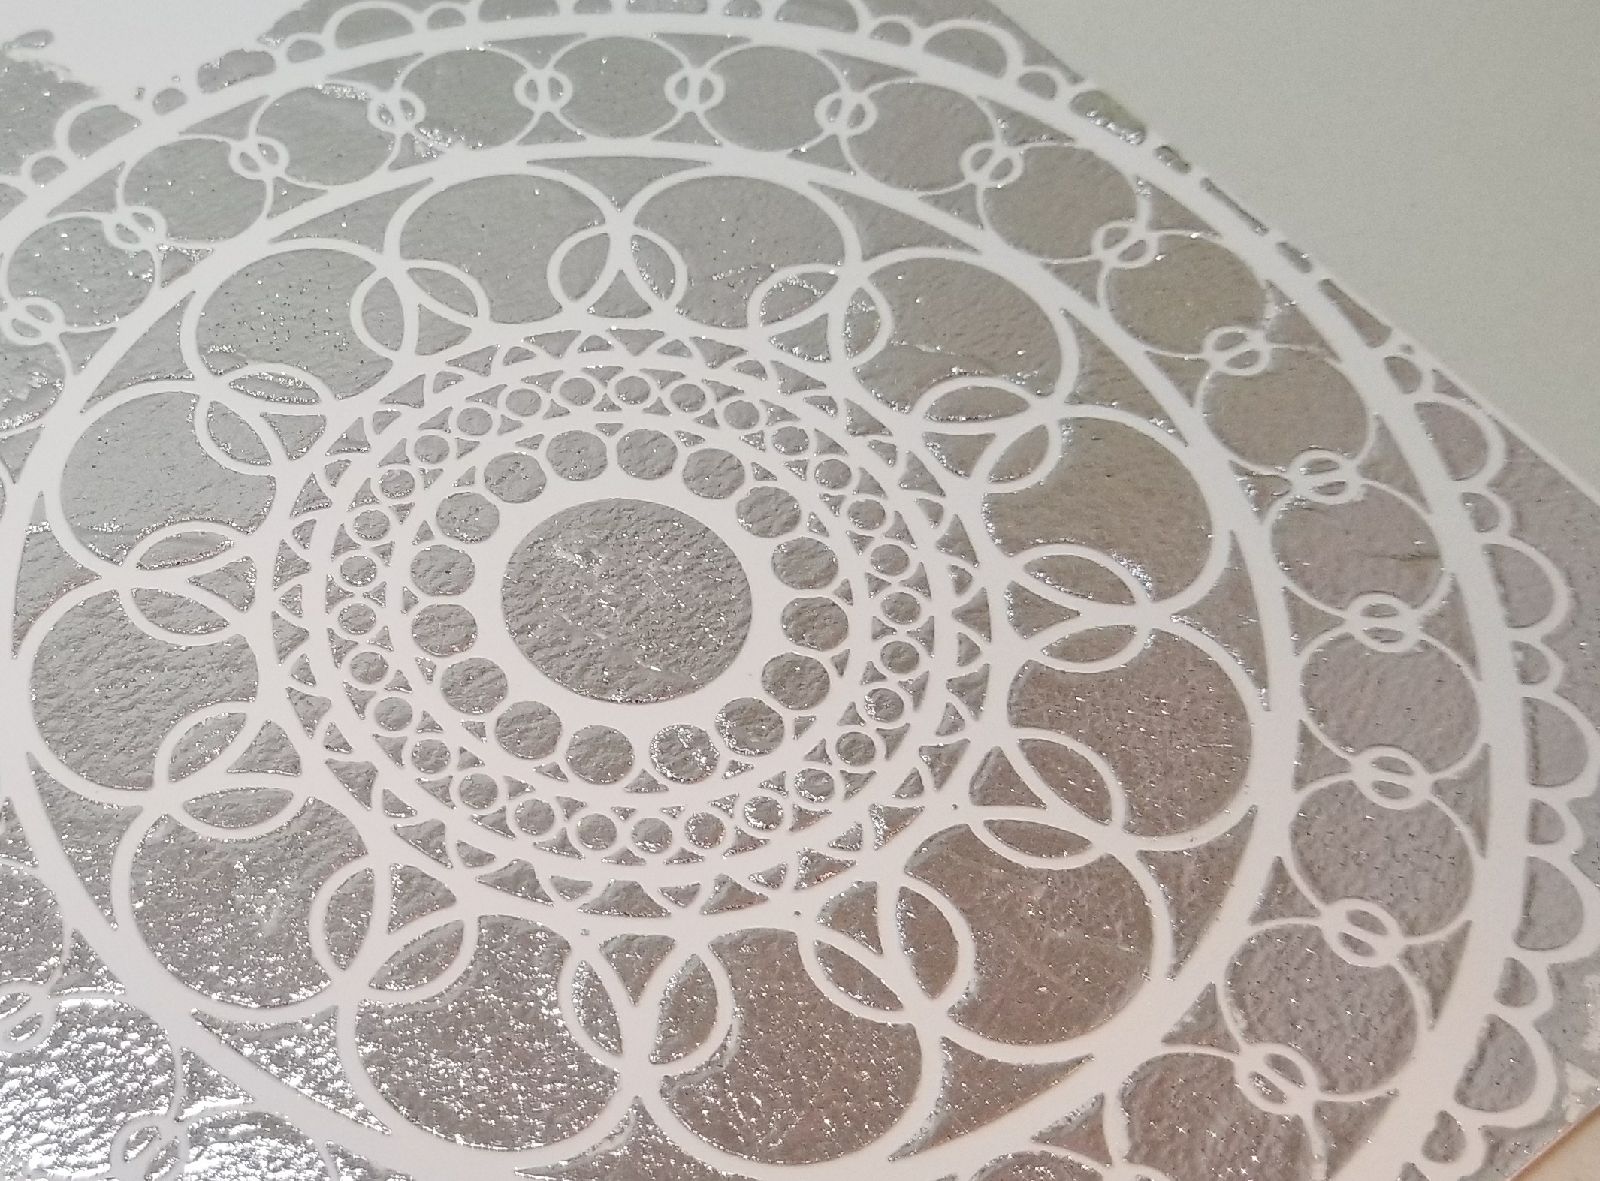
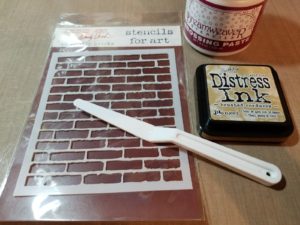 I began with a piece of Neenah Solar White card stock 4.25” x 5.5”. I placed the Studio 490 Basically Bricks stencil down and masked off the area for my brick background with painters tape. On my craft mat I put down some Brushed Corduroy Distress Ink and mixed the embossing paste into it until I had the color I liked for my bricks. For you, if your color is too light simply add more color to it and too dark add a little more embossing paste. Be creative with this. When I liked the color I smeared the paste onto my stencil keeping it thin and fairly uniform. They are bricks so perfection is not necessary. I set this aside to dry overnight.
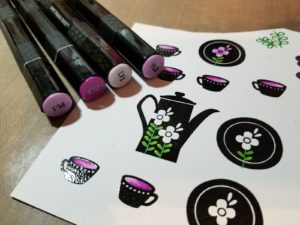 I stamped several of the cups, plates and coffee pot onto Neenah Solar White card stock using
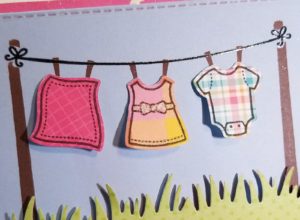
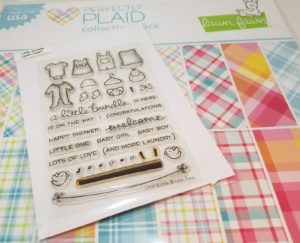
 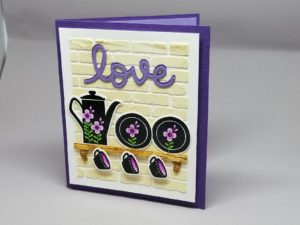 I changed my layout several times, initially using both shelves and all of the cups and plates with one coffee pot. In the end I went with only two plates, a coffee pot and several cups. I cut out the word “love” using the
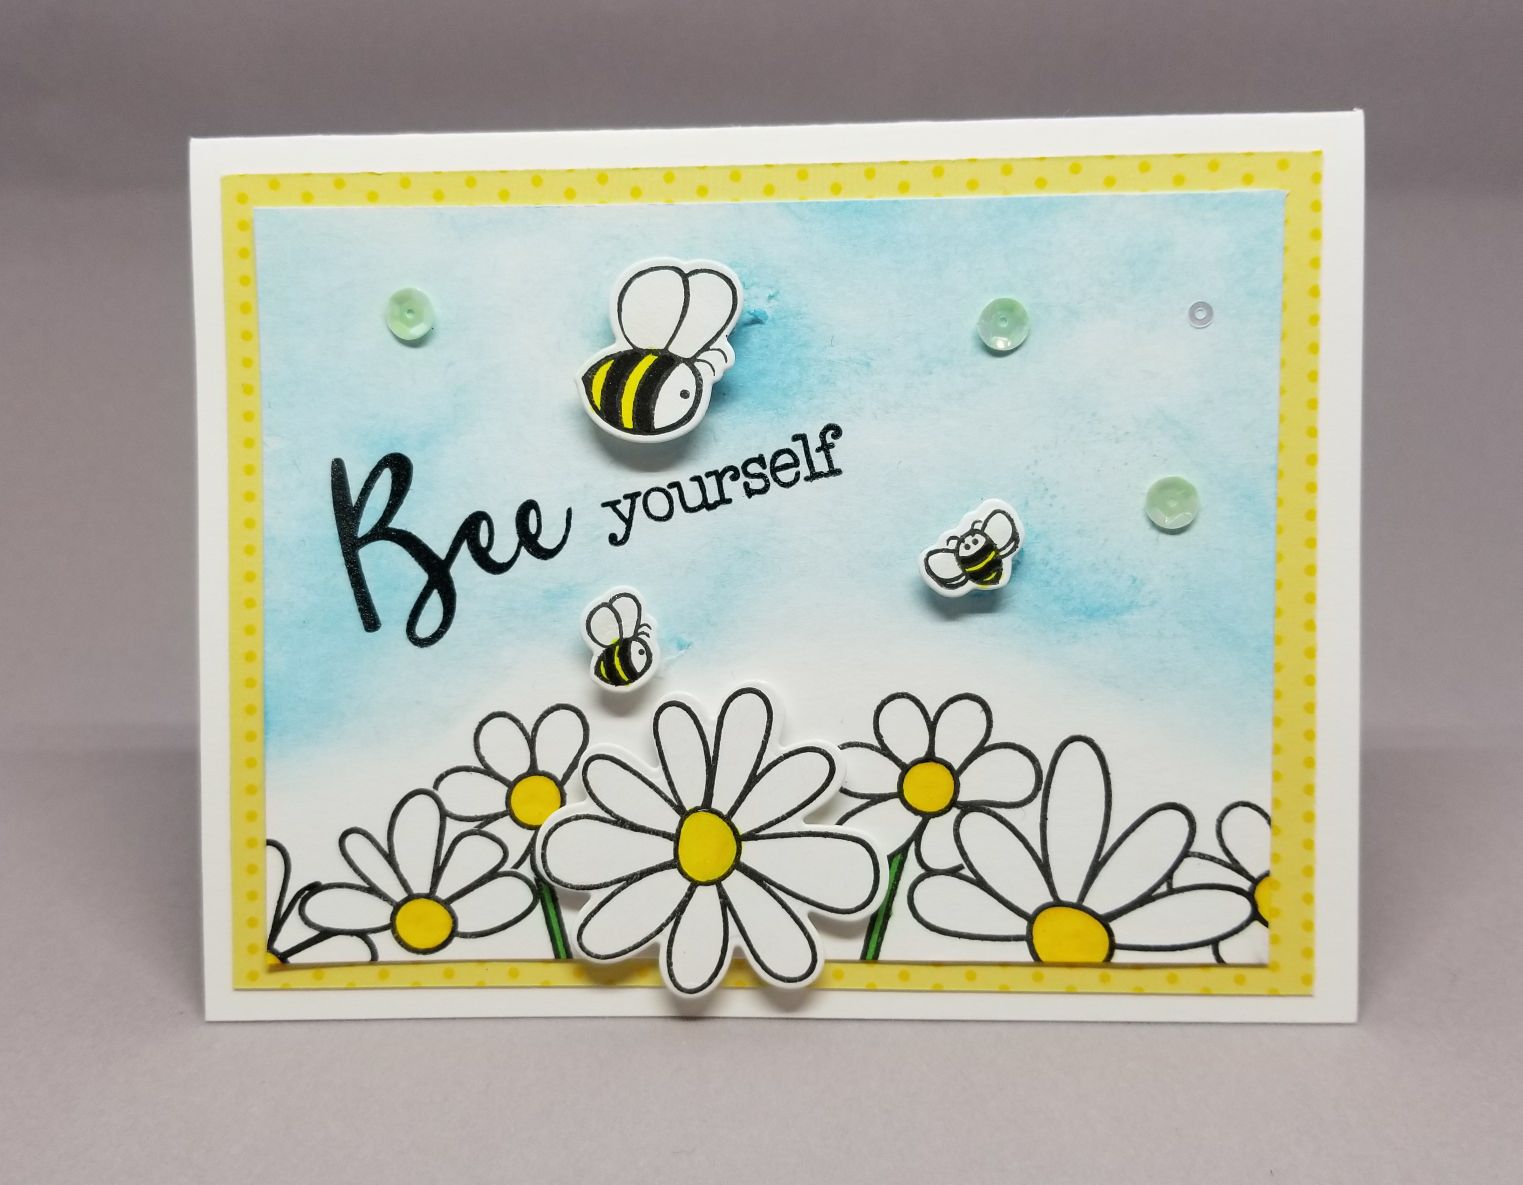
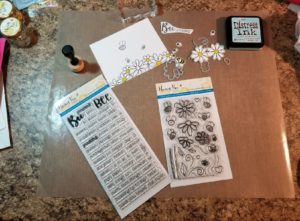 I used my Misti to plan out my card layout. I used
  To create the look that some flowers are behind others, you need to create and use masks. To do this, stamp onto a Post-It note and then cut close to the edge of the image. Place this over the “front” image and then stamp behind. Save these masks for future use. They can be used over and over. I put them on the page from the stamp set so it all stays together.
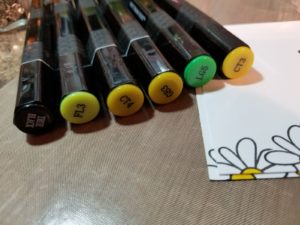 Using
Using  When assembling the card I used foam tape behind the center flower and doubled the foam tape behind the bees so they would stand out a little more. Yellow polka dotted background paper made the flowers pop. A couple iridescent sequins finished off the card nicely.
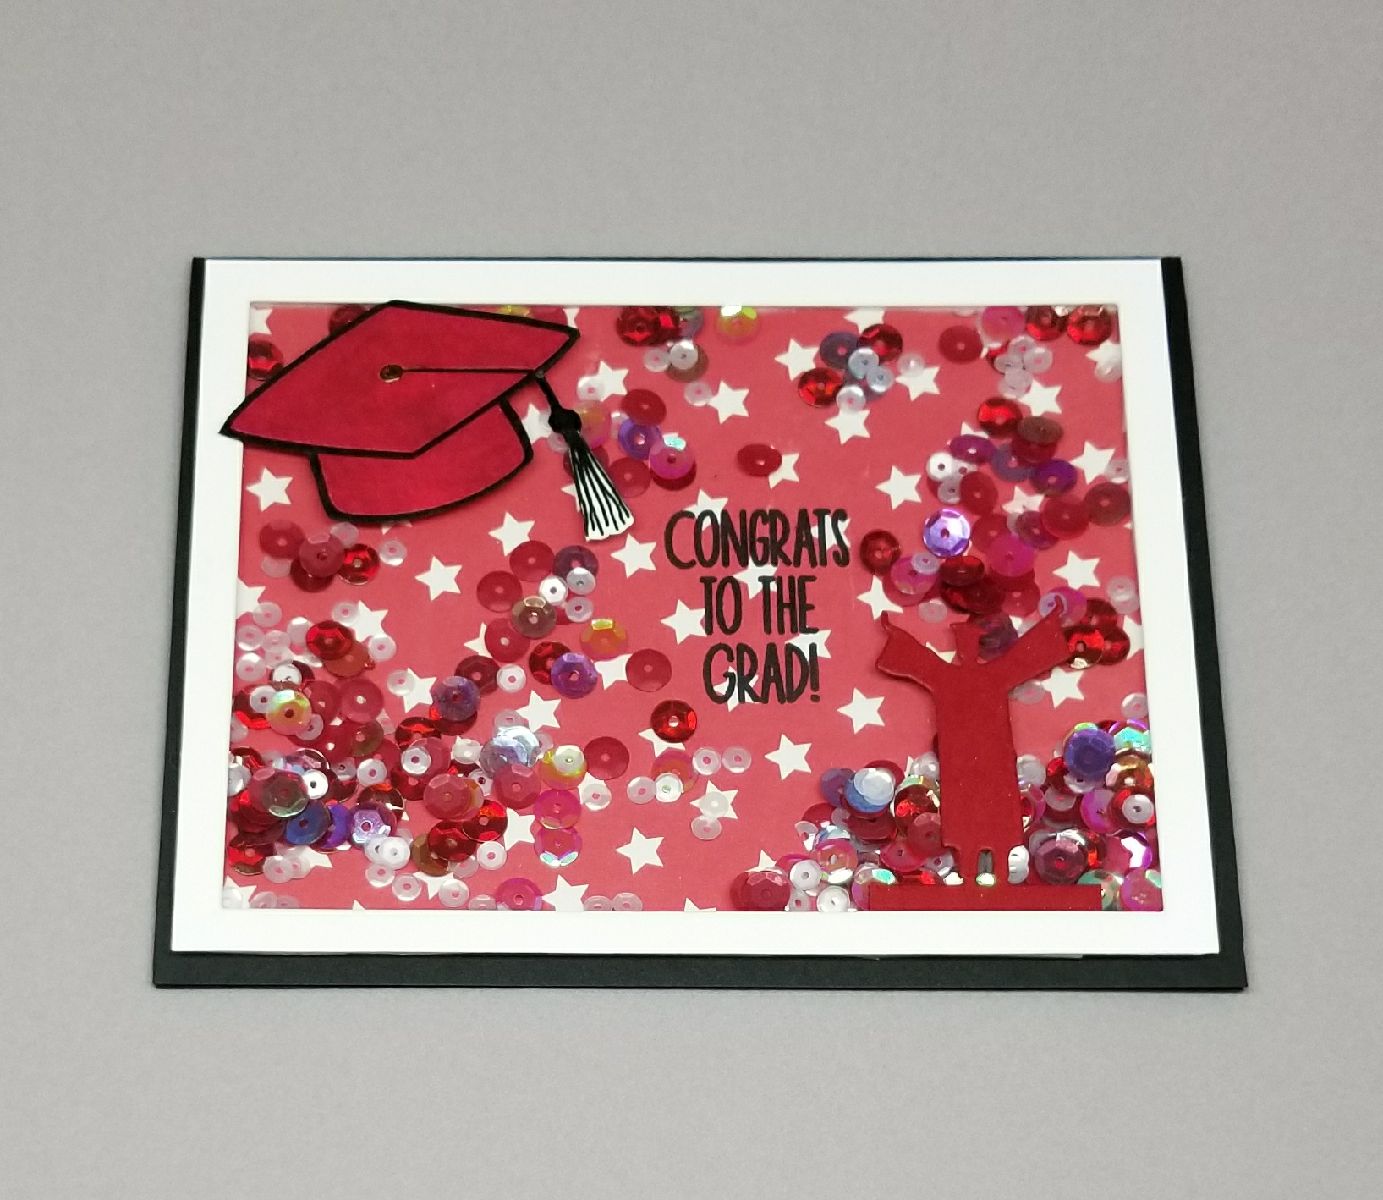
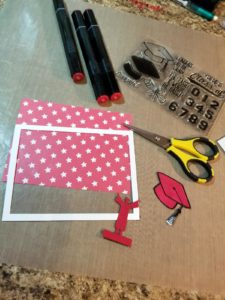 I decided to make this into a shaker card. The schools colors were red and white, so I chose papers and sequins in those colors. I stamped the cap with
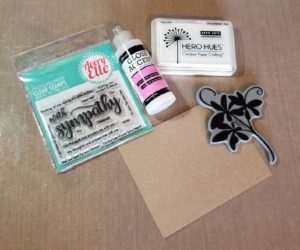
 I stamped ink swatches from every ink pad I have using a kit I found at