Create Your Own Background – Incy Wincy Design Challenge

The focal point of this card is the creation of A Day for Daisies Shop “Gift Tag”.   

I pictured this package sitting under a Christmas tree awaiting Christmas morning.  I used Distress Ink to color the background and used a stamp from Sunny Studio to create the branches.  I colored the package using Copic markers R14, R37 & R89.  The bow was colored with Y06, Y17 & YR16.  The tag is B00 and a Copic Multiliner to write in the names on the tag.  The half pearls are from Ink Road Stamps.

This image is so cute and has so many possibilities from Christmas to birthdays and even Valentine’s Day.  A Day for Daisies Shop has so many cute images.  I hope you will check out the shop and create something amazing.

Wishing you and your family a very Merry Christmas.  I pray all of your Christmas wishes are fulfilled.

I failed as Jennifer McGuire, but I learned something.

Have you ever bought craft supplies because of an amazing card you saw one of the crafting goddesses make only to have the supplies arrive and you get to busy to make the card?  They get put in your stash, then time passes and you completely forget about the project.  Well needless to say it has happened to me many times.  I have decided to revisit many of these items and let you see how my attempt to recreate their masterpieces tuns out.

Today we are going back a few years to an awesome creation by the one and only Jennifer McGuire.  She, like so many others, makes everything look so easy and always beautiful.  I watched the video in October 2016 and purchased the supplies after watching “Embossed Impressions” using a die from Simon Says Stamps – Corbel Tree Die.  I thought those looks easy and so pretty….”that will be this year’s Christmas card”, I thought.  We will just say it didn’t happen and I came across it again this season – 2 years later.

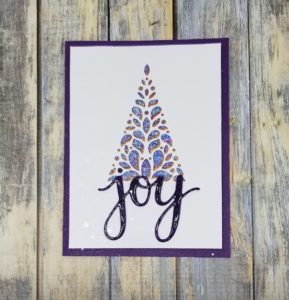
I revisited the video and made my attempt to create her amazing card.  Below is my sad outcome.

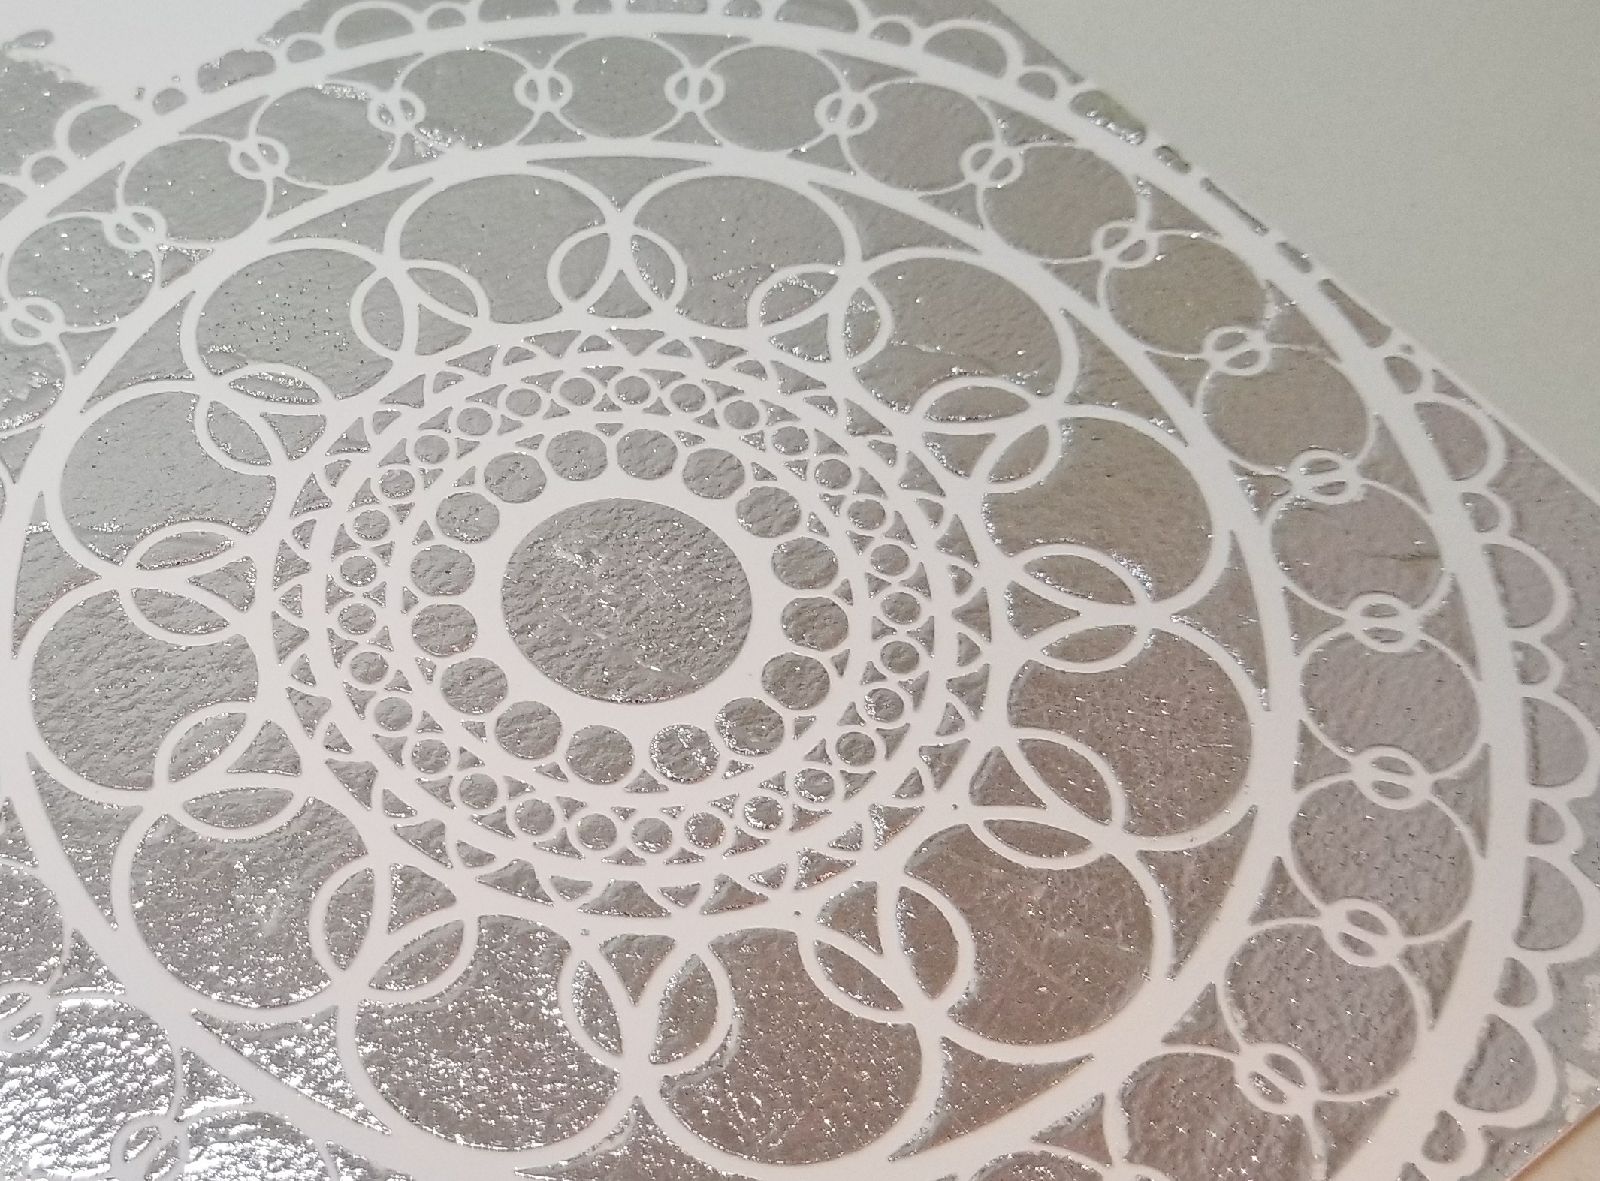
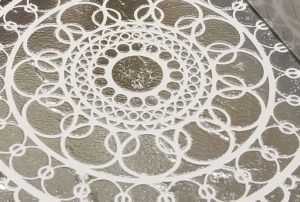
Parts of the die cut through and the embossing is just a mess.  Sadly I did this several times and this was the best of the worst.  So, I decided to try something completely different.  I cut the design out to use as a stencil with Nuvo Glimmer Paste to made a dimensional tree.  This did not work very well either, but out of that fail came inspiration.  I cut out another of the same tree from white cardstock and after the “stencil” dried I put it behind the white piece.

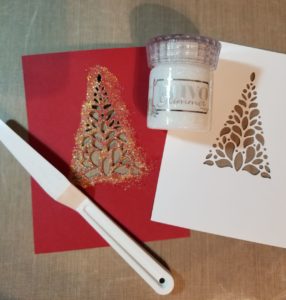
I took some Lawn Fawn Pixy Dust cardstock and colored it with varies colors of blue, green and purple Copic markers to create this.

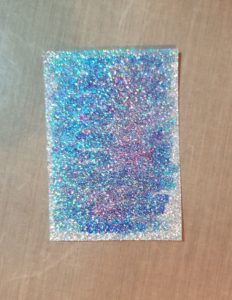
I put it all together and was in love with all of the layers and the colors.  I attached some craft foam to the back for dimension and then to a purple card base.  I added the “joy” from Hero Arts stamp set Joy.  It was cut out once from purple and three times from white cardstock and stacked.  I also added Glossy Accents to add shine.

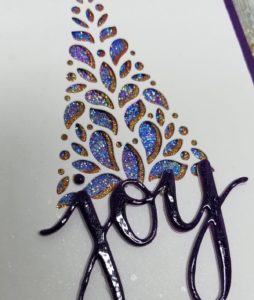
My Jennifer McGuire fail turned out to be a moment of learning, so thank you, Jennifer, for the inspiration.  Merry Christmas!


Flynne’s Puppies – Corgi Puppy

Blog Hop for JessicaLynnOriginal – Flynne’s Puppies

This is a fun blog hop from Jessica Lynn Originals that is raising money for a local group called Lucky Mutts Rescue.  Click the link to learn more.

This is my final card for this blog hop.  I am using a stamp set called Flynne’s Puppies from JessicaLynnOriginal.  It is such an adorable set with this Corgi puppy, but it also has a Pug and a Lab puppy too.  All of her stamps are so cute and realistic.

I started this card with an A2 size card base from 110# Neenah Solar White card stock.  Using Worn Lipstick, Picked Raspberry and Candied Apple Distress Ink, I colored my entire background and sprayed it with water to activate the ink.

I took another A2 size piece of white card stock and cut it with the Full of Hearts Die-Namics.

I adhered it to my colored background.  Save all of those cut out hearts you never know what you can use them for.  They make great confetti!

The Corgi Puppy was stamped with Extreme Black ink from MFT and colored with Copic markers.  The colors are noted in the picture.

The Distress Ink blends so well and has such great colors.  The water marks are such a great effect.

I finished the card off with a great sentiment from the set and a few sequins.

This was my very first blog hop and I am so honored and grateful to Jessica for giving me this opportunity.

Flynne’s Puppies – Lab Puppy Card

Lab Puppy Card – JessicaLynnOriginal Blog Hop


This card was made for the JessicaLynnOriginals Blog Hop that is raising money for a local group called Lucky Mutts Rescue.  Be sure to check it out.  I am using a stamp set called Flynne’s Puppies from Jessica.  It is such an adorable set with this sweet Lab puppy, but it also has a Pug and a Corgie.

I started this card with an A2 size card base from 110# Neenah Solar White card stock.  Using Broken China Distress Oxide Ink, I colored my entire background and sprayed it with water to activate the ink.

After the card base was dry, the word LOVE was cut out using a Die-namic cutting die.

The Lab Puppy was colored with Copic markers.  The colors are noted in the picture.

In the end, I decided to make this a shaker card.  The sentiment from the set “Life is better with a dog!” pairs perfectly with the word LOVE.  I am partial to Labrador’s because I have one and today is his 11th birthday.  Happy birthday Dakota!

Dakota – 11 years old

Speed Cardmaking

My entry for Event #4 in the MFT 2018 Creative Olympics – Speed Cardmaking.  You are given 20 minutes to create a card.  Sounds simple enough but once you get into it time flies.  It makes you realize how much time you actually take laying out a card design  and then creating it.  Also, I began to realize how many times I am interrupted.  It doesn’t bother me until I have a time limit to finish something.  This was a great challenge and an eye opening experience too.  I used the MFT Get Down To Business stamp set, grey card stock and grey ink.  It took me 18 minutes and 30 seconds to complete the card.  Thank you MFT for these Creative Olympic Events.  I had so much fun.

You Saved The Day…MFT Challenge


My Favorite Things Stamps is having a 2018 Creative Olympics.  This is for Event 1.  Use 3 different stamps sets to create a card.  I used You’re Super, New Best Friend and You Make My Tail Wag stamp sets along with other MFT stencils and stitched die-namics.  This card was a lot of fun to create.

I have been away from my blog and crafting for a while due to a death in my family but I am very much looking forward to posting more regularly.

Have a great weekend and enjoy the Olympics. GO USA!!

Baby Card

My co-worker had a baby girl, she is so cute!  I wanted to make a card to go with the gift and dinner I took to her family.  It gave me an excuse to buy the Lawn Fawn Little Bundle stamp and die set.  It is just adorable.  I also picked up the Perfectly Plaid paper pack to use along with it.

I stamped several different images and then after changing my mind so many times I chose the onezie, the dress and the blanket.  I stamped in black ink and clear embossed the close line poles after stamping them in brown ink.  The grass was also a Lawn Fawn die – Grassy Border.

This card was so much fun to make.  I look forward to making more baby cards with this set.


Foil Effects

I have been seeing a lot of foil being used lately so I thought it was time to finally use the Minc my husband so lovingly bought for me for Christmas.  I have been wanting to try the Deco Foil Transfer Gel from Gina K Designs.  She has a great YouTube video using it.  Everywhere I looked was out of it.  I decided to try an experiment with what I had at home. 

I mixed the embossing paste with the Minc Reactive Paint on my craft mat.  Using watercolor paper I taped down my stencil and spackled the mixed paste over my stencil.  I set it aside and let it dry overnight.

I used the silver foil and ran it through the Minc.  It came out pretty good.  My paste wasn’t as smooth as I would have liked but not bad for an experiment.  I then decided to try the reactive paint as it was intended.  I painted it onto another piece of watercolor paper.  I also let it dry over night and used gold foil on it.  It was a nice effect.

Lastly I tried the Reactive Mist.  That was fun.  I did the same as before putting it on watercolor paper and allowing it to dry over night.  I used the holographic foil on it.  That too had a nice effect.

This has inspired me to clean out my craft room to see what other treasures I have forgotten about.  I’ll let you know what I find.


Sympathy Card

I needed a sympathy card and did not have any in my stash.  I prefer to take my time and plan a pretty card but sometimes that isn’t an option.   I made this one quickly with supplies I had on hand.
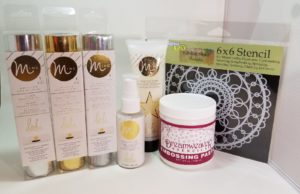
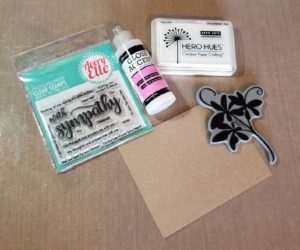
I pulled out some kraft card stock, the
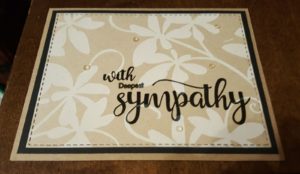
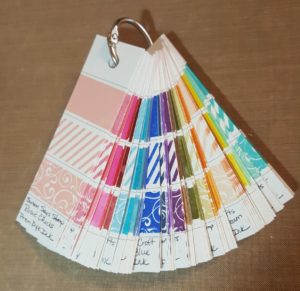
 With Sympathy stamp set from Avery Elle, Glossy Accents, Hero Arts Unicorn white pigment ink pad and an old Stampendous  jumbo rubber stamp I have had forever.  I used the large stamp with the white ink and repeatedly stamped it on kraft card stock to create a simple background.  I cut this out with the largest die from a stitched die set.  Then using my Misti I aligned the sentiment and stamped it a couple times with Simon Says Stamp Intense black ink to make sure it was dark and crisp.  I backed it with some black card stock, attached it to an A2 size kraft card and finished it with some glossy accents.  It was really that simple.  You will be amazed at how creative you can be when you are spontaneous.  Give it a try!

Continue reading “Sympathy Card”