I needed a sympathy card and did not have any in my stash. I prefer to take my time and plan a pretty card but sometimes that isn’t an option. I made this one quickly with supplies I had on hand.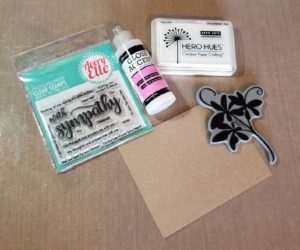 I pulled out some kraft card stock, the With Sympathy stamp set from Avery Elle, Glossy Accents, Hero Arts Unicorn white pigment ink pad and an old Stampendous jumbo rubber stamp I have had forever. I used the large stamp with the white ink and repeatedly stamped it on kraft card stock to create a simple background. I cut this out with the largest die from a stitched die set. Then using my Misti I aligned the sentiment and stamped it a couple times with Simon Says Stamp Intense black ink to make sure it was dark and crisp. I backed it with some black card stock, attached it to an A2 size kraft card and finished it with some glossy accents. It was really that simple. You will be amazed at how creative you can be when you are spontaneous. Give it a try!
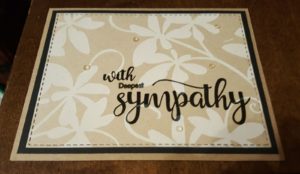
Sympathy Card

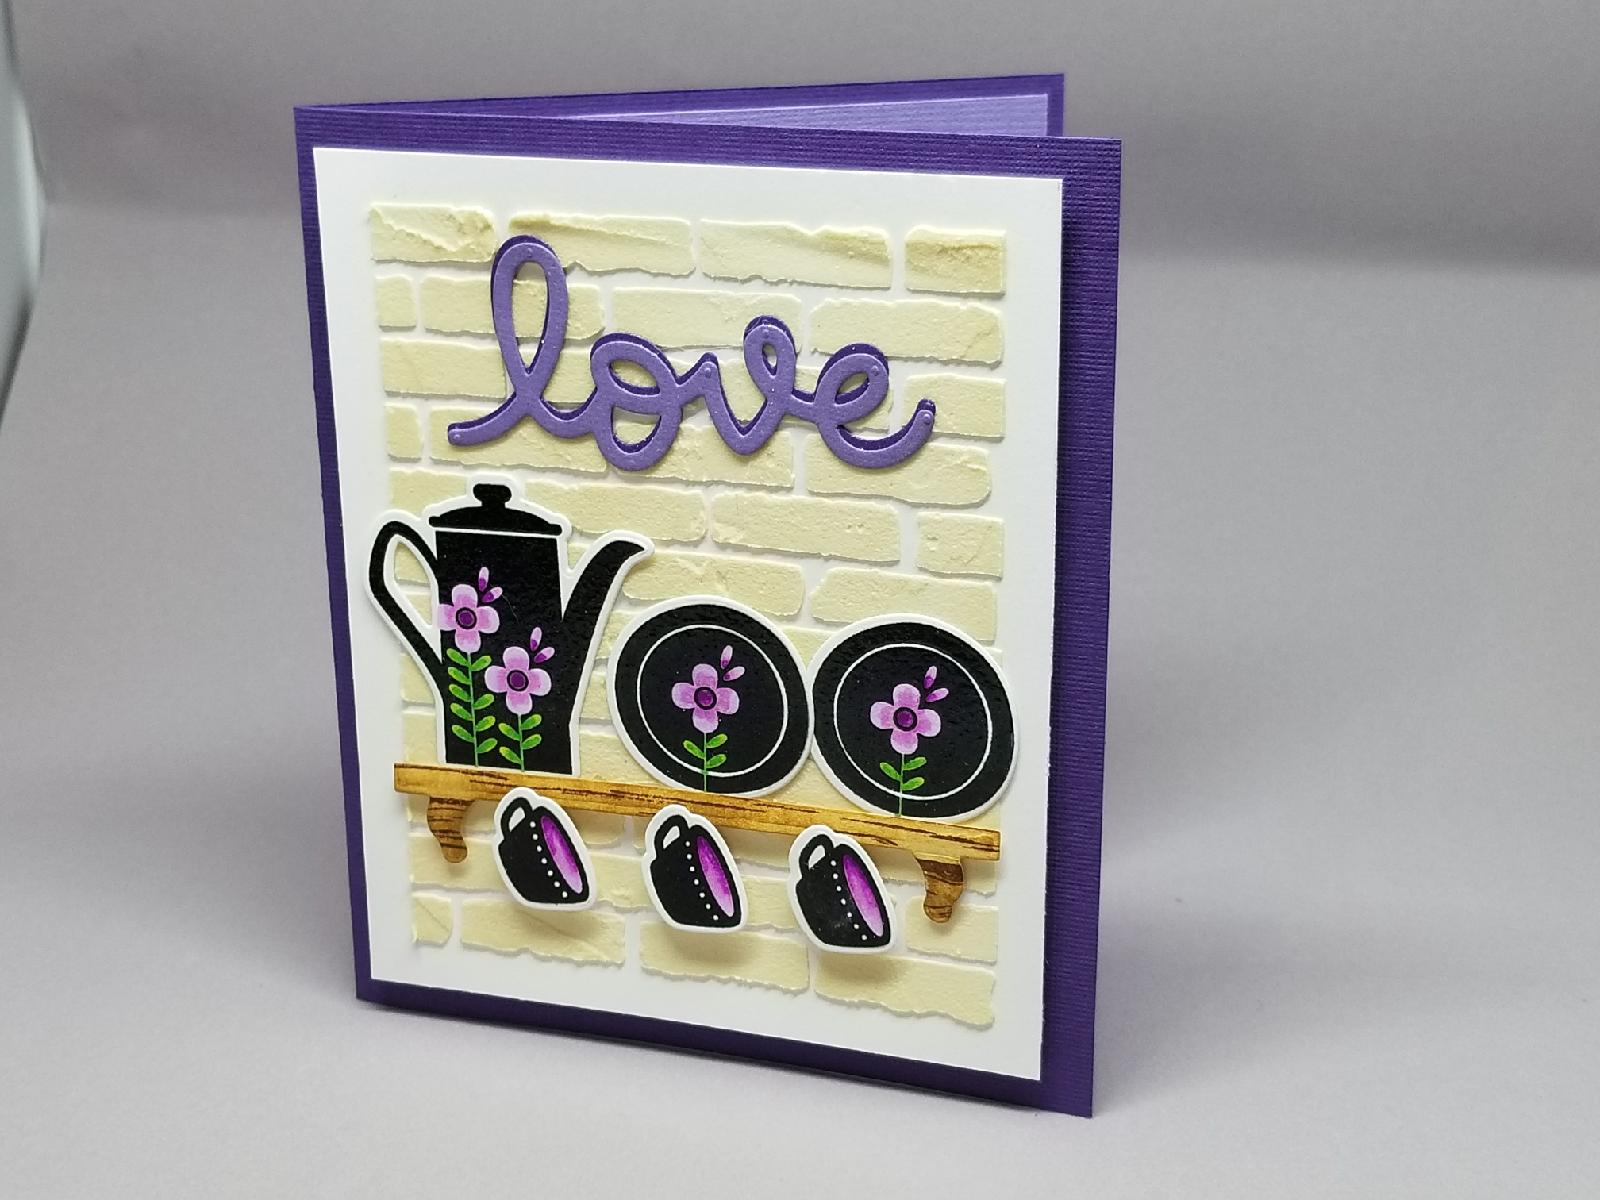
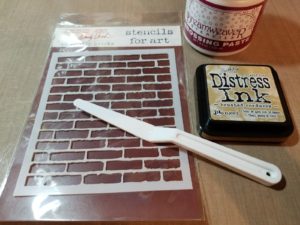 I began with a piece of Neenah Solar White card stock 4.25” x 5.5”. I placed the Studio 490 Basically Bricks stencil down and masked off the area for my brick background with painters tape. On my craft mat I put down some Brushed Corduroy Distress Ink and mixed the embossing paste into it until I had the color I liked for my bricks. For you, if your color is too light simply add more color to it and too dark add a little more embossing paste. Be creative with this. When I liked the color I smeared the paste onto my stencil keeping it thin and fairly uniform. They are bricks so perfection is not necessary. I set this aside to dry overnight.
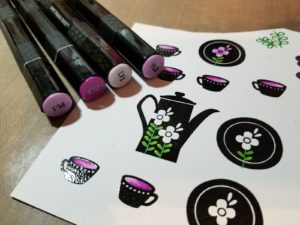 I stamped several of the cups, plates and coffee pot onto Neenah Solar White card stock using
 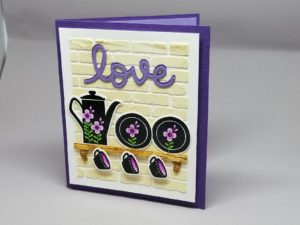 I changed my layout several times, initially using both shelves and all of the cups and plates with one coffee pot. In the end I went with only two plates, a coffee pot and several cups. I cut out the word “love” using the
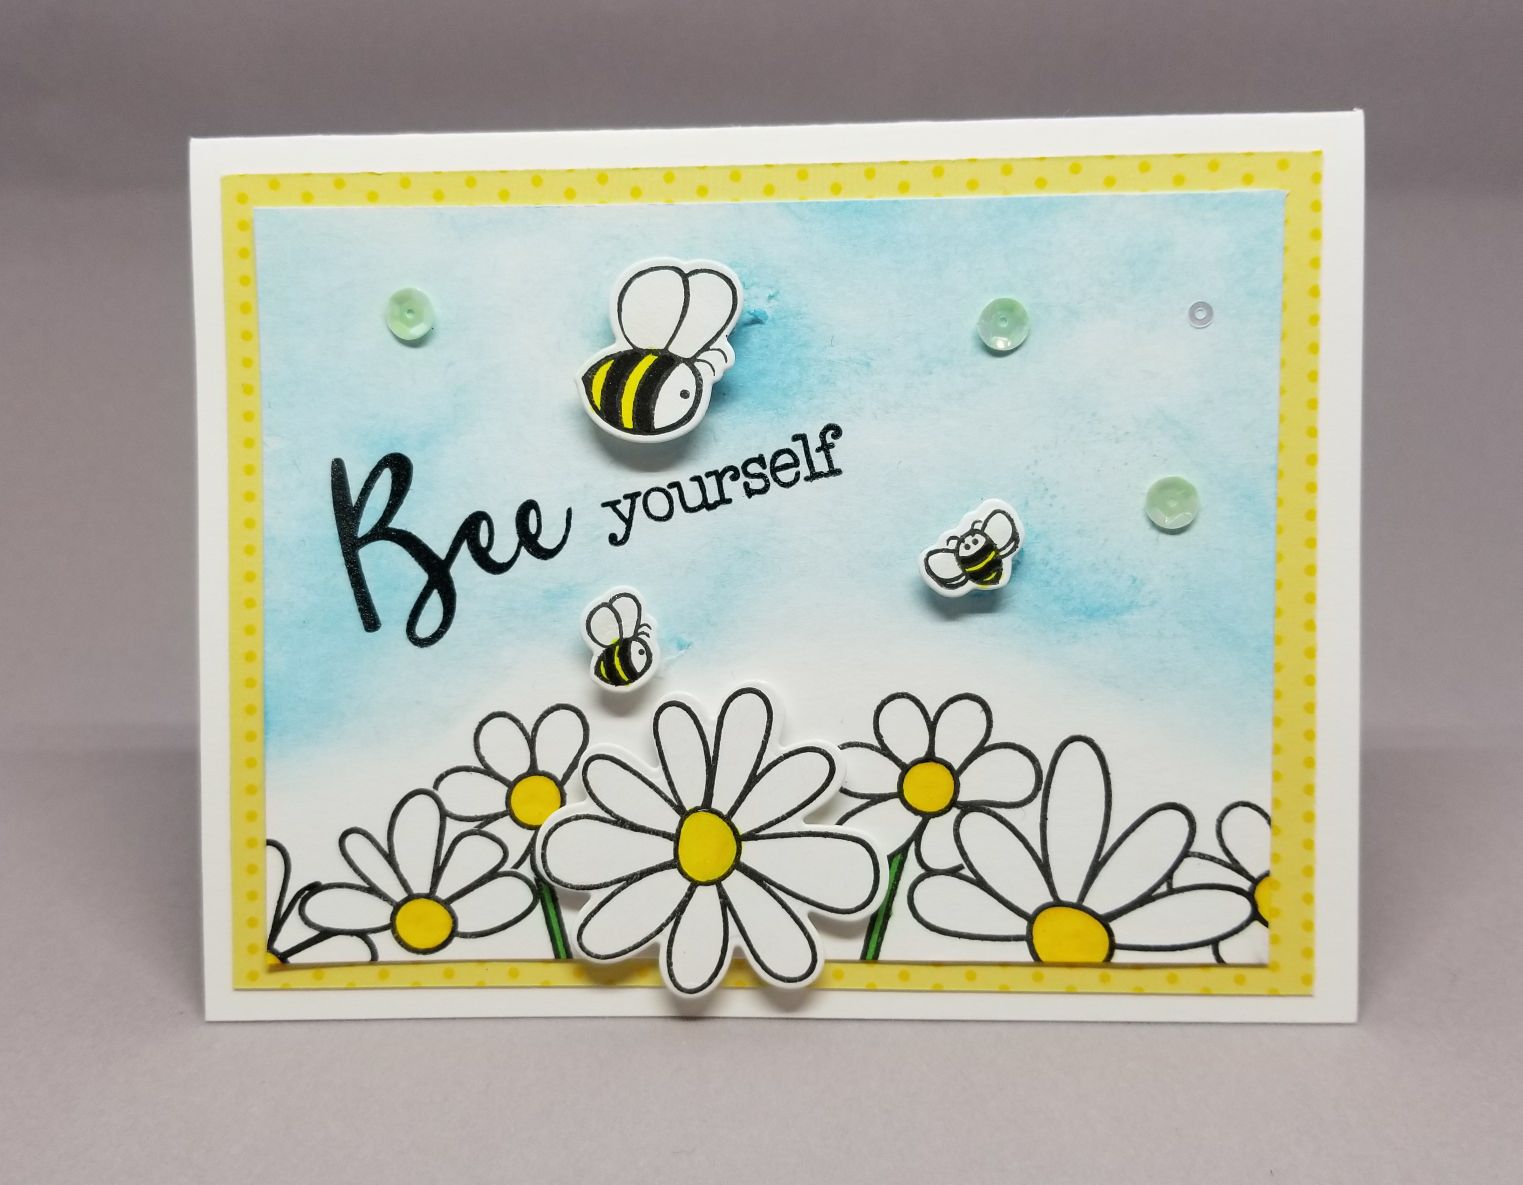
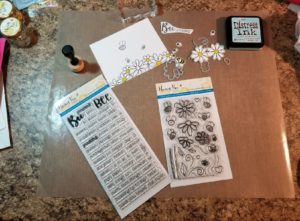 I used my Misti to plan out my card layout. I used
 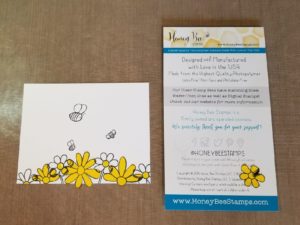 To create the look that some flowers are behind others, you need to create and use masks. To do this, stamp onto a Post-It note and then cut close to the edge of the image. Place this over the “front” image and then stamp behind. Save these masks for future use. They can be used over and over. I put them on the page from the stamp set so it all stays together.
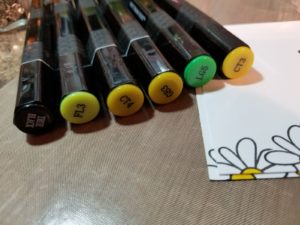 Using
Using  When assembling the card I used foam tape behind the center flower and doubled the foam tape behind the bees so they would stand out a little more. Yellow polka dotted background paper made the flowers pop. A couple iridescent sequins finished off the card nicely.
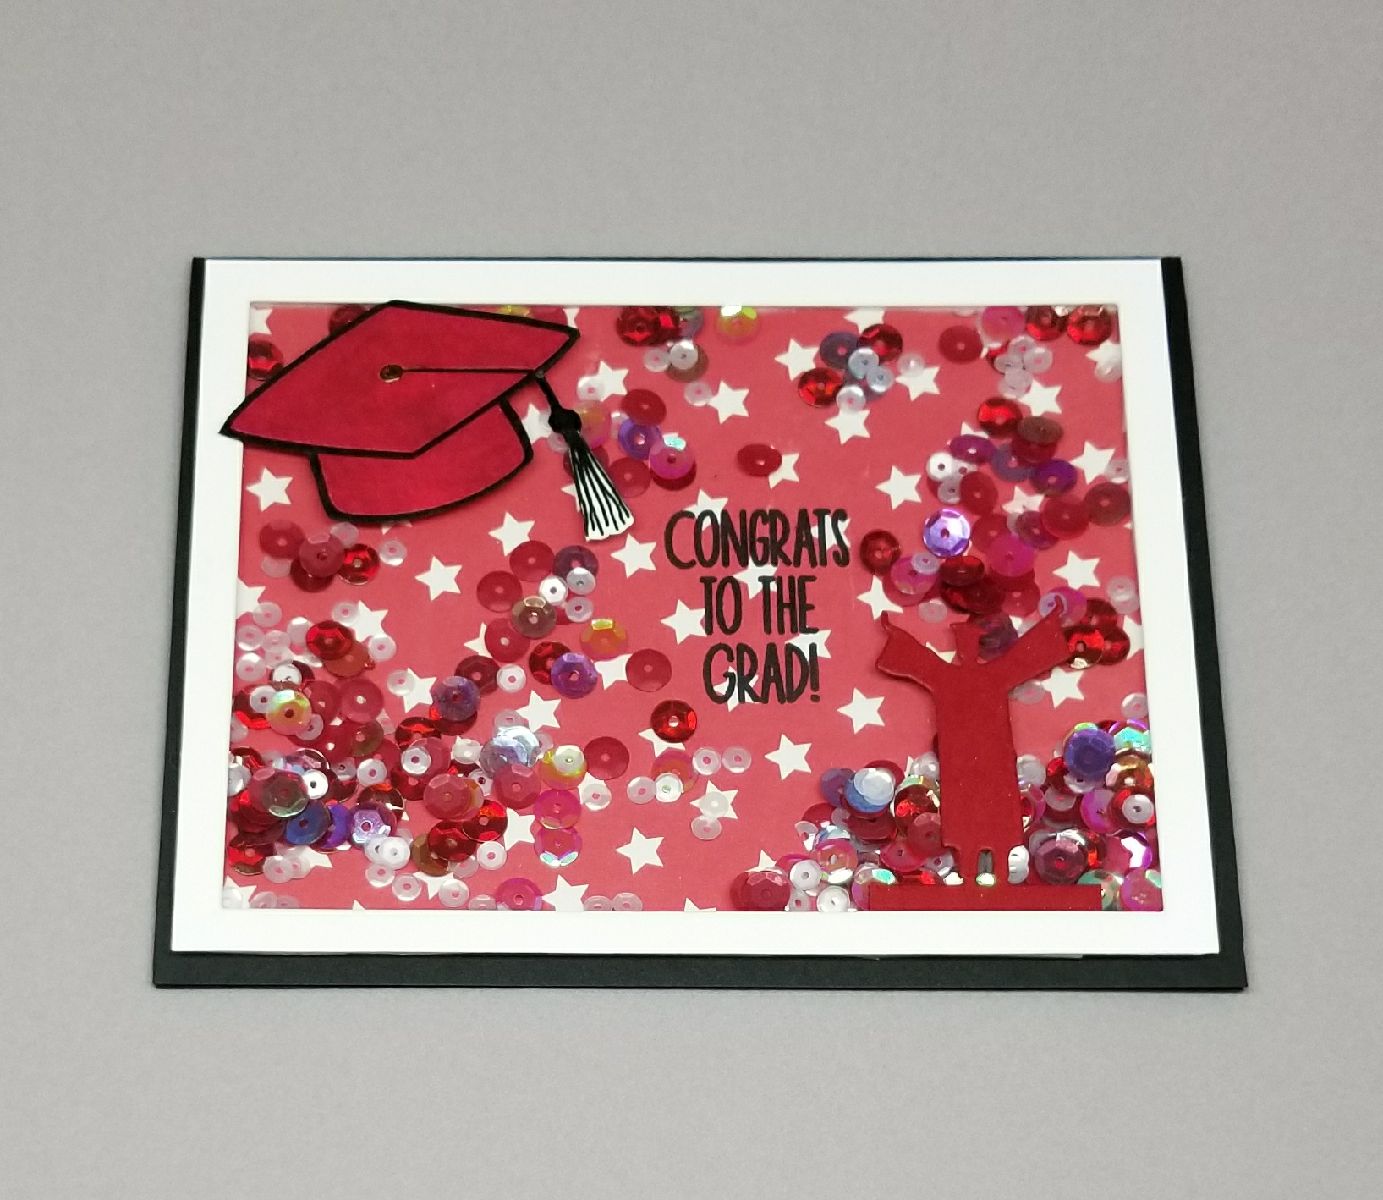
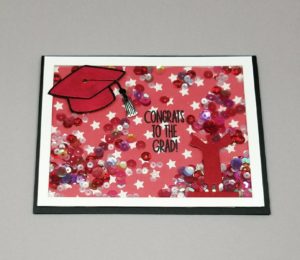
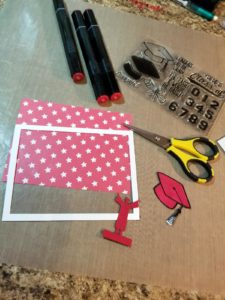 I decided to make this into a shaker card. The schools colors were red and white, so I chose papers and sequins in those colors. I stamped the cap with